Camera
 |  |
|---|---|
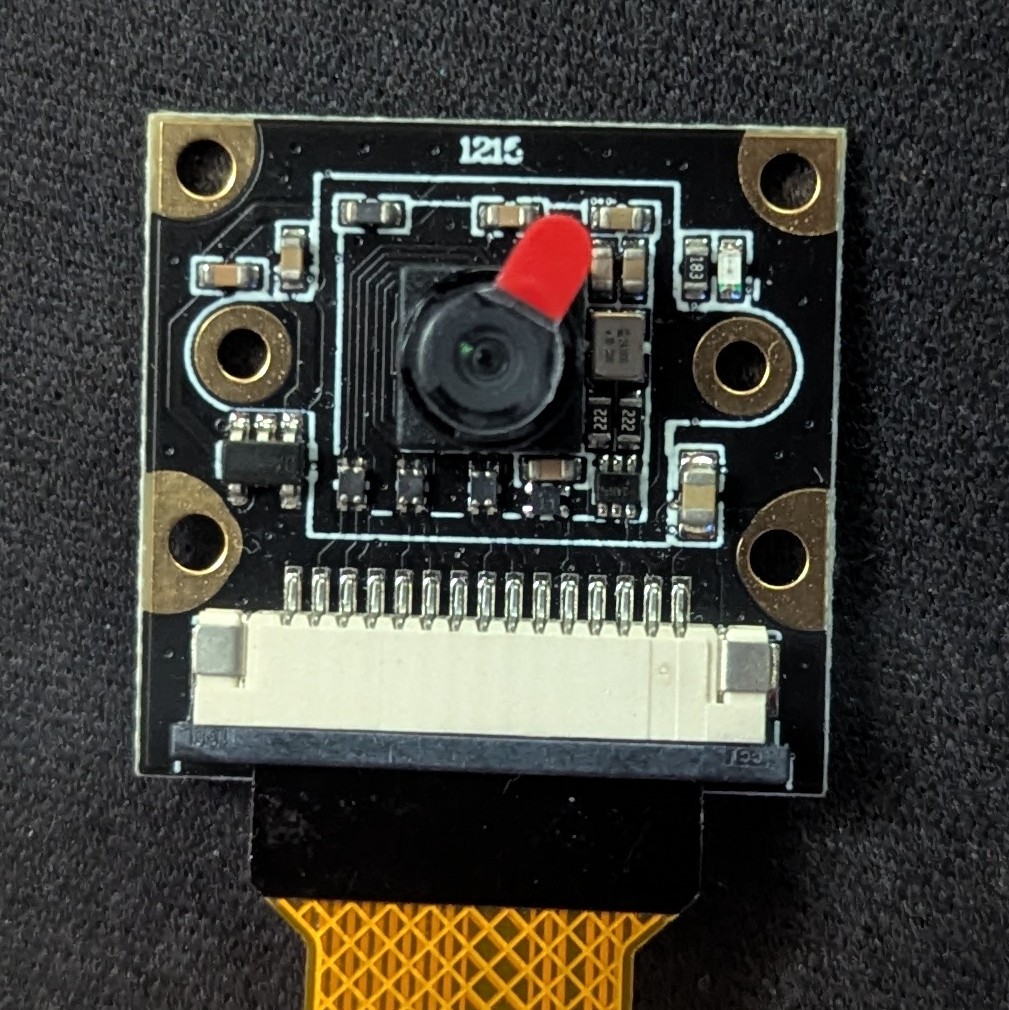
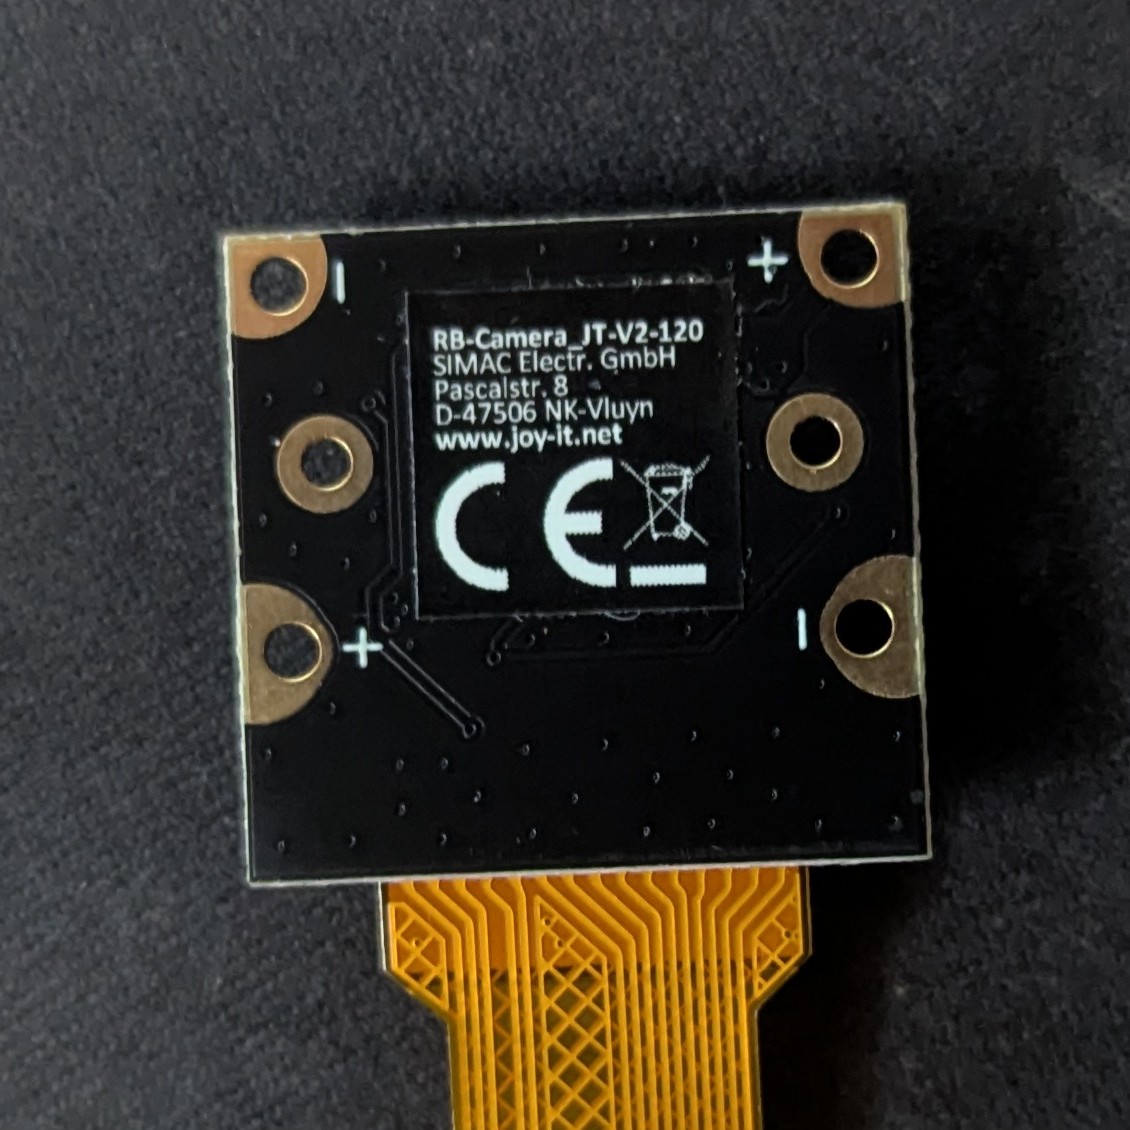
Front and back views of the RB-Camera JT-v2-120 used in this setup | |
Configuration:
To enable and configure the camera module on the Raspberry Pi zero, it is necessary to modify the system configuration file:
Add the following lines to explicitly enable the IMX219 camera sensor and allocate sufficient GPU memory for image processing (note: configuration may differ for other camera modules, such as the IMX477 or OV5647).
The setting camera_auto_detect=0 disables automatic camera detection, allowing manual specification of the camera model via dtoverlay=imx219. The start_x=1 directive enables the camera subsystem, and gpu_mem=128 allocates 128 MB of RAM to the GPU, which is necessary for processing images.
After editing, reboot the system to apply the changes:
Capture Picture:
Once the camera has been correctly configured a, it is possible to test and capture images using command-line tools.
You can verify that the camera is operational by capturing a still image with one of the following commands:
or